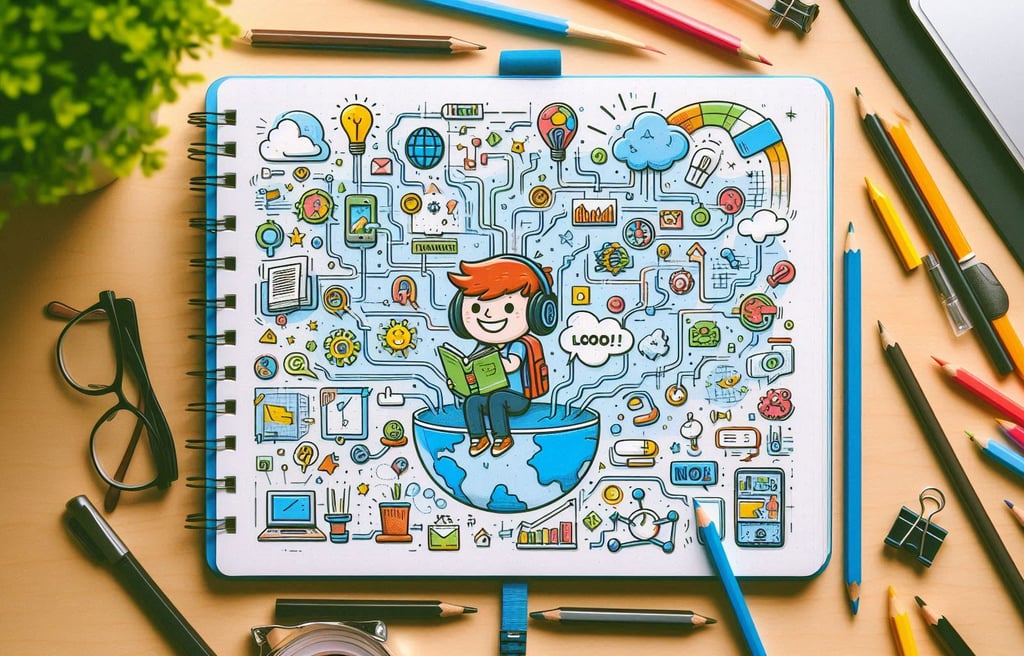
Interactive Mindmaps: Organize Your Thoughts Easily
Discover NotebookLM's new interactive mindmaps feature! This innovative tool helps you organize your thoughts visually, making learning fun and easy. Enhance your learning experience today with our advanced learning tools!
3/23/20252 min read
🧠 NotebookLM Introduces Interactive Mindmaps – Make Thinking Fun and Easy!
✨ Ever wish you could see your ideas come to life in a colorful, connected way?
Good news! NotebookLM just introduced Interactive Mindmaps — a super cool feature that helps you organize your thoughts visually and make learning fun and easy. Whether you’re a student, a teacher, or just someone who loves organizing ideas, this guide will show you how to create engaging mindmaps with NotebookLM in a simple and fun way!
🚀 What Are Interactive Mindmaps?
Interactive Mindmaps let you turn ideas into visual maps where you can see how different thoughts connect. Think of it as a colorful spider web where each idea branches out, making it easier to understand and remember things!
✔️ Helps you organize thoughts
✔️ Makes learning fun
✔️ Boosts creativity and memory
📝 How to Create an Interactive Mindmap with NotebookLM
Here’s a simple step-by-step guide to creating a mindmap using NotebookLM:
1. Open NotebookLM
Go to NotebookLM and log in with your Google account.
Create a new project or open an existing one.
2. Start Adding Ideas
Click on the "Create Mindmap" button.
Type your main idea in the center.
Example: If you’re planning a birthday party, write "Birthday Party" in the center.
3. Branch Out Your Ideas
Add connected thoughts or tasks as branches.
Example: From "Birthday Party," you could add:
🎈 Decorations
🍰 Cake
🥳 Guest List
🎶 Music
4. Add Details and Notes
Click on a branch to add more details.
Example: Under "Cake," you could add:
🍫 Chocolate cake
🎂 Order from bakery
5. Customize and Color Code
Change colors, shapes, and icons to make it visually fun!
Example: Use 🎈red for decorations, 🍰blue for cake, and 🎶green for music.
6. Connect Related Ideas
Drag and link branches together.
Example: Connect "Guest List" to "Cake" if you need to know how many people to serve!
7. Save and Share
Once you’re happy with your mindmap, click Save.
You can even share it with friends or teammates!
🎉 Why Interactive Mindmaps Are Awesome
✅ Helps you see the big picture
✅ Makes it easy to find connections between ideas
✅ Great for studying, planning, and creative projects
✅ Fun and engaging for all ages!
🌟 Fun Facts About Mindmaps!
💡 The concept of mindmapping was introduced by Tony Buzan in the 1970s.
🧠 Mindmapping can boost memory by up to 15% because it helps your brain visualize information better.
🎨 Colors and icons help your brain process information 60,000 times faster than plain text!
🖼️ Tips for an Engaging Mindmap
✅ Use colors and icons – They make it easier to remember details.
✅ Keep it simple – Too many branches can get messy!
✅ Use images – A picture is worth a thousand words.
✅ Link related ideas – Helps you understand how things connect.
🎯 Conclusion – Start Mapping Your Ideas Today!
Interactive Mindmaps in NotebookLM make it easy to organize thoughts, boost creativity, and have fun while learning. Whether you’re planning a party, working on a school project, or brainstorming ideas — mindmaps will help you think more clearly!
👉 Ready to try it out? Head over to NotebookLM and start creating your first mindmap today!
🌈 Have fun mapping your ideas — and don’t forget to check out our other guides on making learning easy and fun!
Resources
info@oneaibase.com
© 2024. All rights reserved.